- 13. Nov. 2020
- 4 Min. Lesezeit
Aktualisiert: 27. Feb. 2021


what you need
Tiles GET THE TILES BEFORE YOU CUT OR ORDER YOUR WOOD!
MFD wood planks
Wood glue
Dispersion adhesive
Grout in white
Water based acrylic paint to dye the grout

soooo first the Math:
Get your tiles first and measure them!
I used 30x30 cm preset tiles
to get a cube with 30 cm at each side its easiest to get to top wood plank 30x30 cm cut
then to make the sides you'll need to subtract the thickness of your wood planks - to make it easy I got 1 cm thick MDF
wich resultet my other 4 wood planks to be each 29x29 cm
because the one board going on top will add 1 cm in height - same with the sides, the boards are touching / overlapping at the edges wich adds 1 cm there as well

just to make it visual: this is how the edges are set, the top board is at the bottom in this picture

to build the cube I used quick drying wood glue - this way the cube will be totally stable as a table - but not as a seating. if you want the option to use it as seating you should use some corner braces and screws to be safe
I started with one side and used this metal angle as a guide to get it straight
I let the first side dry for about 10 minutes before I went on with the other ones

I did put a good amount of glue since MDF is sucking up a good bit of it, you won't see it anyways so just slab it on

I did put some corner braces at the bottom corners to add some extra stability - but this is just optional
I did let this dry for about 4-5 hours - should be super dry and stable before you start glueing the tiles on

now its gonna get messy, so make sure you protect your floor and hands
I used one if these icing flatteners for cake, you can use anything flat spatula like to smear it on

start with the top and distribute a thin even layer of your glue
do not put too much - it will squeeze trough the tiles if you do
try to make it as even as you can - the tiles will not lay even when you have too much of a bumpy surface
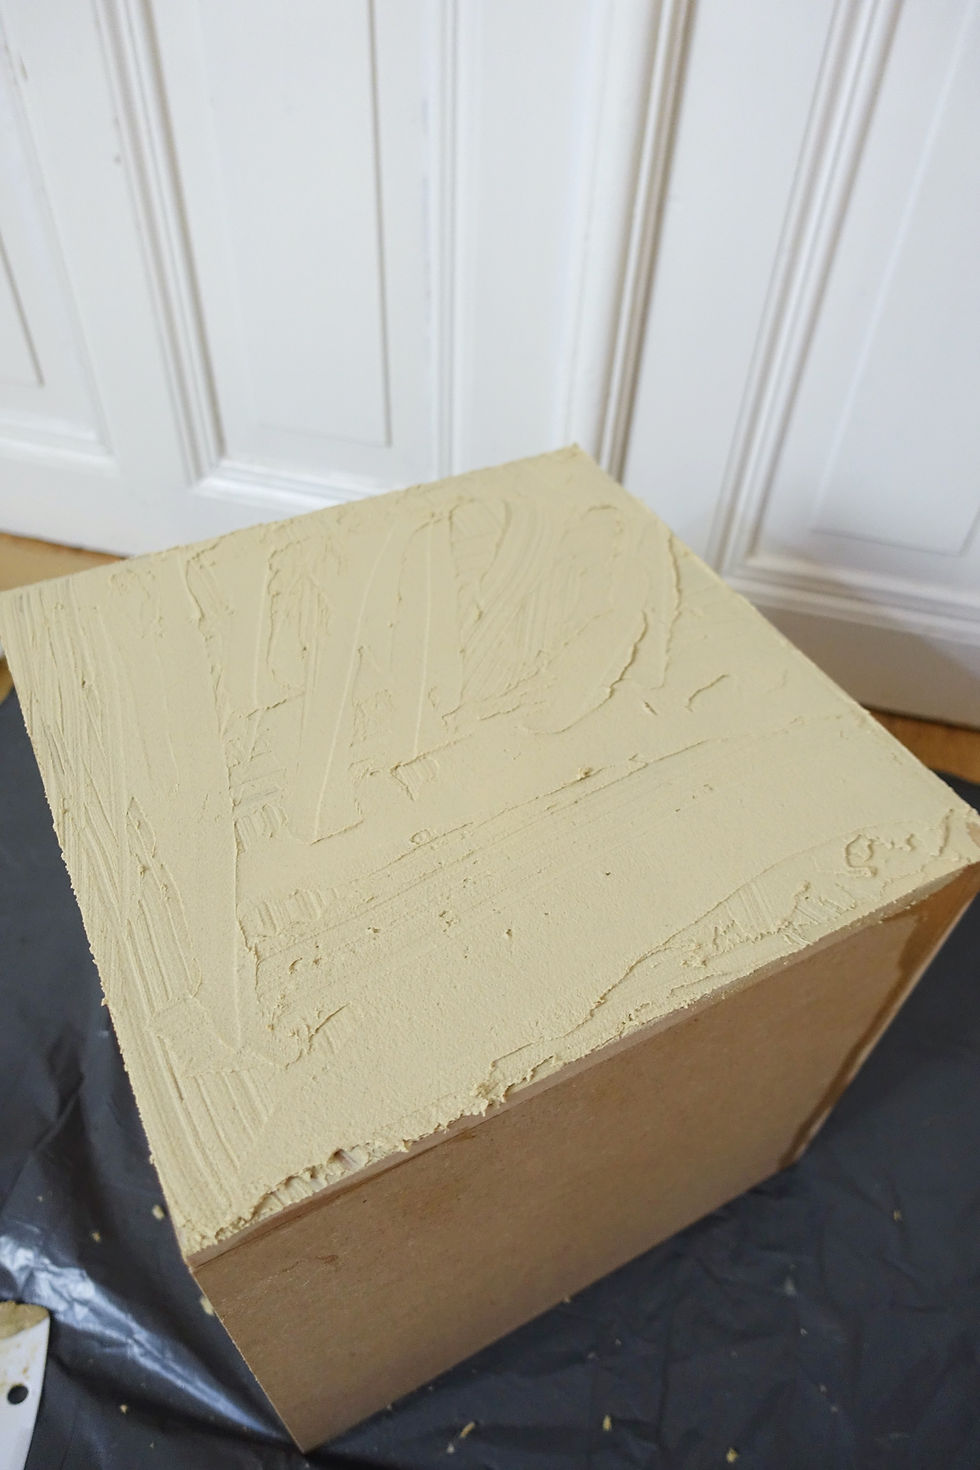
that's how mine looked when I put the tile on
I started at one side and played them down evenly
press each and every one of the tiles into the glue (when you use preset tiles) this way they will look the most even

its basically the same for the sides
I would recommend putting the tiles at the bottom first and working your way up pressing them down, this way you make sure you have a straight line at the bottom

also another tipp: try to align the interstice

this should dry over night to make sure everything is super secure and in the right place

now for the even messier part: the grouting
totally would recommend having a lot of gloves and tissue paper near by

now to dye the grout mix a lot of your waterbased acrylic paint with a little bit of water
I had to mix twice because I ran out half way so I used the whole bottle of paint and about 2/3 of the cup filled with grout
do not mix wayyy too mich because you can't store this, once its mixed it will harden
but also not too less because it can happen that the colour does turn out different when you mix a second time

start with way less water than you would think - the grout should be a pretty thick consistency, a bit like soft putty

it does look pretty crumbly but once you touch it (with gloves) you'll feel how soft it is

and now the real fun part:
just take a hand full and massage it into all the gaps doesn't have to be super exact for now just slab it on and have fun

for the edges: I just filled them with grout and went over with my finger to smoothe them out
you don't have to worry about making everything super smooth at first, just fill all the gaps and let the grout set a bit

once you got the whole thing covered you can go back to the top where you started and just feel if it did set a little, by no means it should be hard or somewhat hard just a lil set

if the grout has set a little bit you can take a paper towel or a sponge and wipe away the excess grout on the surface
the grout will smear the paint a bit so the tiles will still look a bit yellow
for now its just about getting most of the 'too much grout' off

once you have wiped away the majority of the grout it will look something like that
I went ahead and went over every gap with my finger tip to soothe it out because the wiping can leave the grout a bit rough at some places
now let this set for another 10ish minutes
the grout should be somewhat pre set now - when you wipe it it shouldn't smear anymore

that's the point when you can take a damp (just barely damp) paper towel to wipe away the last it of colour sheen from the tiles
once that's done your cube should look nearly finished
the grout is not completely hardened at this point so if you see some imperfections you can still Smoothie them out
let this dry over night again

you totally can make bigger ones or a tray - a whole table ... options are endless.
if you can't find cute tiles it could be an option just go with some ugly ones you like the shape of and paint the whole thing with tile paint once its finished
tiles are fun - you can do a loooooot with them


Kommentare